Tag: Dessert

Cinnamon Applesauce Cookies

Cinnamon Applesauce Cookies

Cinnamon Applesauce Cookies fully capture the flavors of Fall! These cookies are soft, spicy, and super easy to make. You can substitute the brown sugar for a sweetener alternative of your choice that best suits your diet (or leave it out all together and rely 

Pumpkin Bread

Pumpkin Bread

Pumpkin Bread, the scrumptious signifier of Fall! This is about as classic as it gets and it’s an easy recipe to kick-off your fall baking. Top your pumpkin bread with cranberries, almonds, walnuts, or pepitas (raw pumpkin seeds). We’ve also included ingredients so you can 

No-Sugar Oatmeal Raisin Cookies

No-Sugar Oatmeal Raisin Cookies

No-Sugar Oatmeal Raisin Cookies made with unsweetened applesauce instead of brown sugar. This recipe is also made using vegan ingredients. These ingredients can be substituted for butter and dairy milk. You may also substitute the oats and flour for gluten-free options if desired.

These cookies are chewy and delicious! Indulge in this healthier version of the homemade classic cookie. This recipe is also a great beginner-level recipe to make with children being introduced to cooking and baking.

Ingredients

Yield: 24-30 Time: 30 Minutes

No-Sugar Oatmeal Raisin Cookies

  • 1/2 cup vegan butter, melted
  • 1/2 cup unsweetened applesauce
  • 2 tsp vanilla extract
  • 1/2 tsp baking powder
  • 2 tsp cinnamon
  • 1 tsp baking soda
  • 1/2 tsp salt
  • 2 1/3 cup flour
  • 2 cups old-fashioned oats
  • 1 1/2 cup raisins
  • 1/4 Dairy-free milk, as needed

Directions

  1. Preheat the oven to 350ºF and prepare two sheet pans, lightly greased or lined with parchment paper.
  2. In a large mixing bowl, combine the melted vegan butter, applesauce, cinnamon, and vanilla extract.
  3. In a separate bowl, sift or whisk together the flour, baking powder, baking soda, and salt.
  4. Mix the flour mixture into the wet ingredients and combine well. The batter should be free of lumps.
  5. Use your hands to fold in the oats and raisins.
  6. The dough should be tacky but not sticky. If the dough is too dry and flaky, add a splash of dairy-free milk until the dough is moldable (but not sticky).
  7. Roll the dough out into walnut-sized balls, placing them on the sheet pans about an inch and a half to two inches apart.
  8. Place cookies in the oven and make for 10-12 minutes.
  9. Allow the cookies to cool before enjoying.
  10. Store at room temperature for up to 4-5 days.

Nutrition Information

Nutrition Disclaimer

More Deliciousness

If you’re looking for even more tasty recipes, keep browsing around Hearty At Home! And don’t forget to share your favorite recipes with your friends, family, and loved ones.

For instance, if you find a recipe you like, pin it to your dinner inspiration board!

We share our recipes and recipe videos on Pinterest, Yummly, Youtube, Vimeo, and Facebook.

Peanut Butter Brownies

Peanut Butter Brownies

These Peanut Butter Brownies are deliciously rich and super easy to make! A perfect intro recipe if you’re cooking with your kids. Plus, this recipe is vegan-friendly without any need to get costly ingredients. Whether you just want a treat for yourself or bake a 

Vegan Chocolate Chip Cookies

Vegan Chocolate Chip Cookies

Enjoy a lightly sweetened indulgence with these Vegan Chocolate Chip Cookies! We assure you a vegan cookie is as tasty and rich as the classic recipe. Need to make some adjustments for those with other allergies or dietary restrictions? You can use any non-dairy milk 

Chocolate Cake

Chocolate Cake

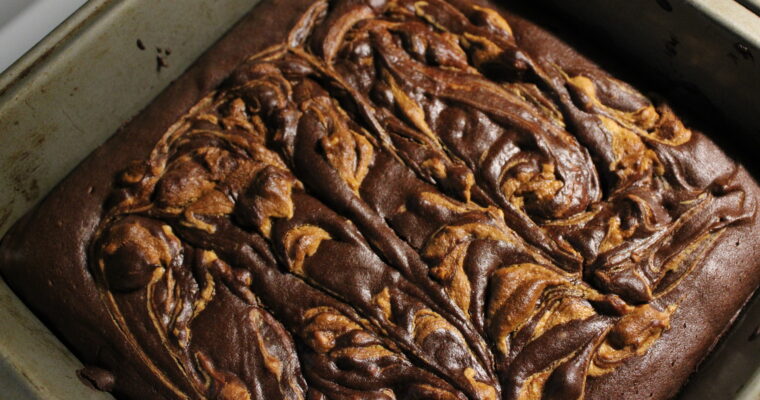
Although Valentine’s Day has passed, this chocolate cake is delicious any time of the year. Whether you’re celebrating a birthday, anniversary, or you just want to have some cake, then this recipe is perfect for you.

What makes this recipe stand apart? Well, it’s vegan and soy-free, and we can help you make it gluten-free. We also use less sugar than in your typical cake recipe, so this chocolate cake is much richer in chocolatey flavor and isn’t overwhelmingly sweet.

Give this rich, moist, and fluffy 2-layered cake a try and we’re certain it will be warmly welcomed by the pickiest of eaters.

Ingredients

Chocolate Cake Batter

  • 2 cups oat milk steeped in 1/2 cup coffee beans
  • 2/3 cup coconut or olive oil
  • 2 tsp vanilla extract
  • 3/4 cup sugar
  • 2 tsp apple cider vinegar or 1 batch of egg replacer
  • 1 cup unsweetened cocoa powder
  • 2 heaping cups of unbleached, all-purpose flour (or gluten-free flour)
  • 1/4 tsp salt
  • 2 tsp baking soda
  • 1 tsp baking powder

Chocolate Cream Cheese Frosting

Directions

  1. Preheat the oven to 350ºF and prepare two 8-inch round cake pans by spraying with a nonstick cooking spray or lightly rubbing with a dash of olive oil and a paper towel.
  2. In a saucepan, steep your coffee beans with oat milk (or another non-dairy milk of your choice) on medium heat for 3-5 minutes. Reduce to low and allow it to steep for another 5-7 minutes or until the milk begins to take on the color of coffee. Stir with a whisk.
  3. Once steeped, use a strainer to separate the beans and oat milk, discard the coffee beans.
  4. Then, add the apple cider vinegar to the oat milk and allow it to combine for a few minutes* (if you’re using egg replacer powder, you can just prepare the egg replacer in place of this step and move on to the next step)
  5. In a large mixing bowl, add the oil, sugar, and vanilla extract (and egg replacer if using instead of apple cider vinegar). Lightly beat on low with a mixer or use a whisk until thoroughly combined.
  6. Then add the oat milk and whisk together.
  7. If you have a sifter, add the flour, cocoa powder, salt, baking powder, and baking soda to a sifter – or whisk the ingredients together in a separate bowl – and gradually add the dry ingredients to the wet ingredients while mixing in a stand mixer or using a hand mixer.
  8. Gradually cream together all ingredients, ensuring that the batter is smooth, creamy, and free of lumps. Taste and adjust sweetness as desired.
  9. Divide the batter evenly between your two baking pans and place in the oven.
  10. Bake the cakes for 25-30 minutes or until the center of your cake comes out clean when pricked with a toothpick.

Preparing the frosting

  1. While the cake is baking, combine softened smart balance and vegan cream cheese in a mixing bowl.
  2. Use a mixer to cream together until fluffy. Then, mix in the cocoa powder, salt, and vanilla extract. Add half of the powdered sugar and cream ingredients together until smooth.
  3. Taste and add more powdered sugar as desired. Frosting should be smooth and creamy.
  4. Place frosting in the fridge.

Assembling the cake

  1. Allow the cake to completely cool before frosting.
  2. Once the cake has, add a thick layer of cream cheese frosting between the top and bottom layers for a 2-layer cake. Then, use a butter knife to apply the frosting on the top and sides of the cake.
  3. Serve and enjoy!

For storage, keep covered in the refrigerator for up to 5-7 days. If you have excess frosting, you may add that to the cut side of the cake to retain its moisture and freshness.
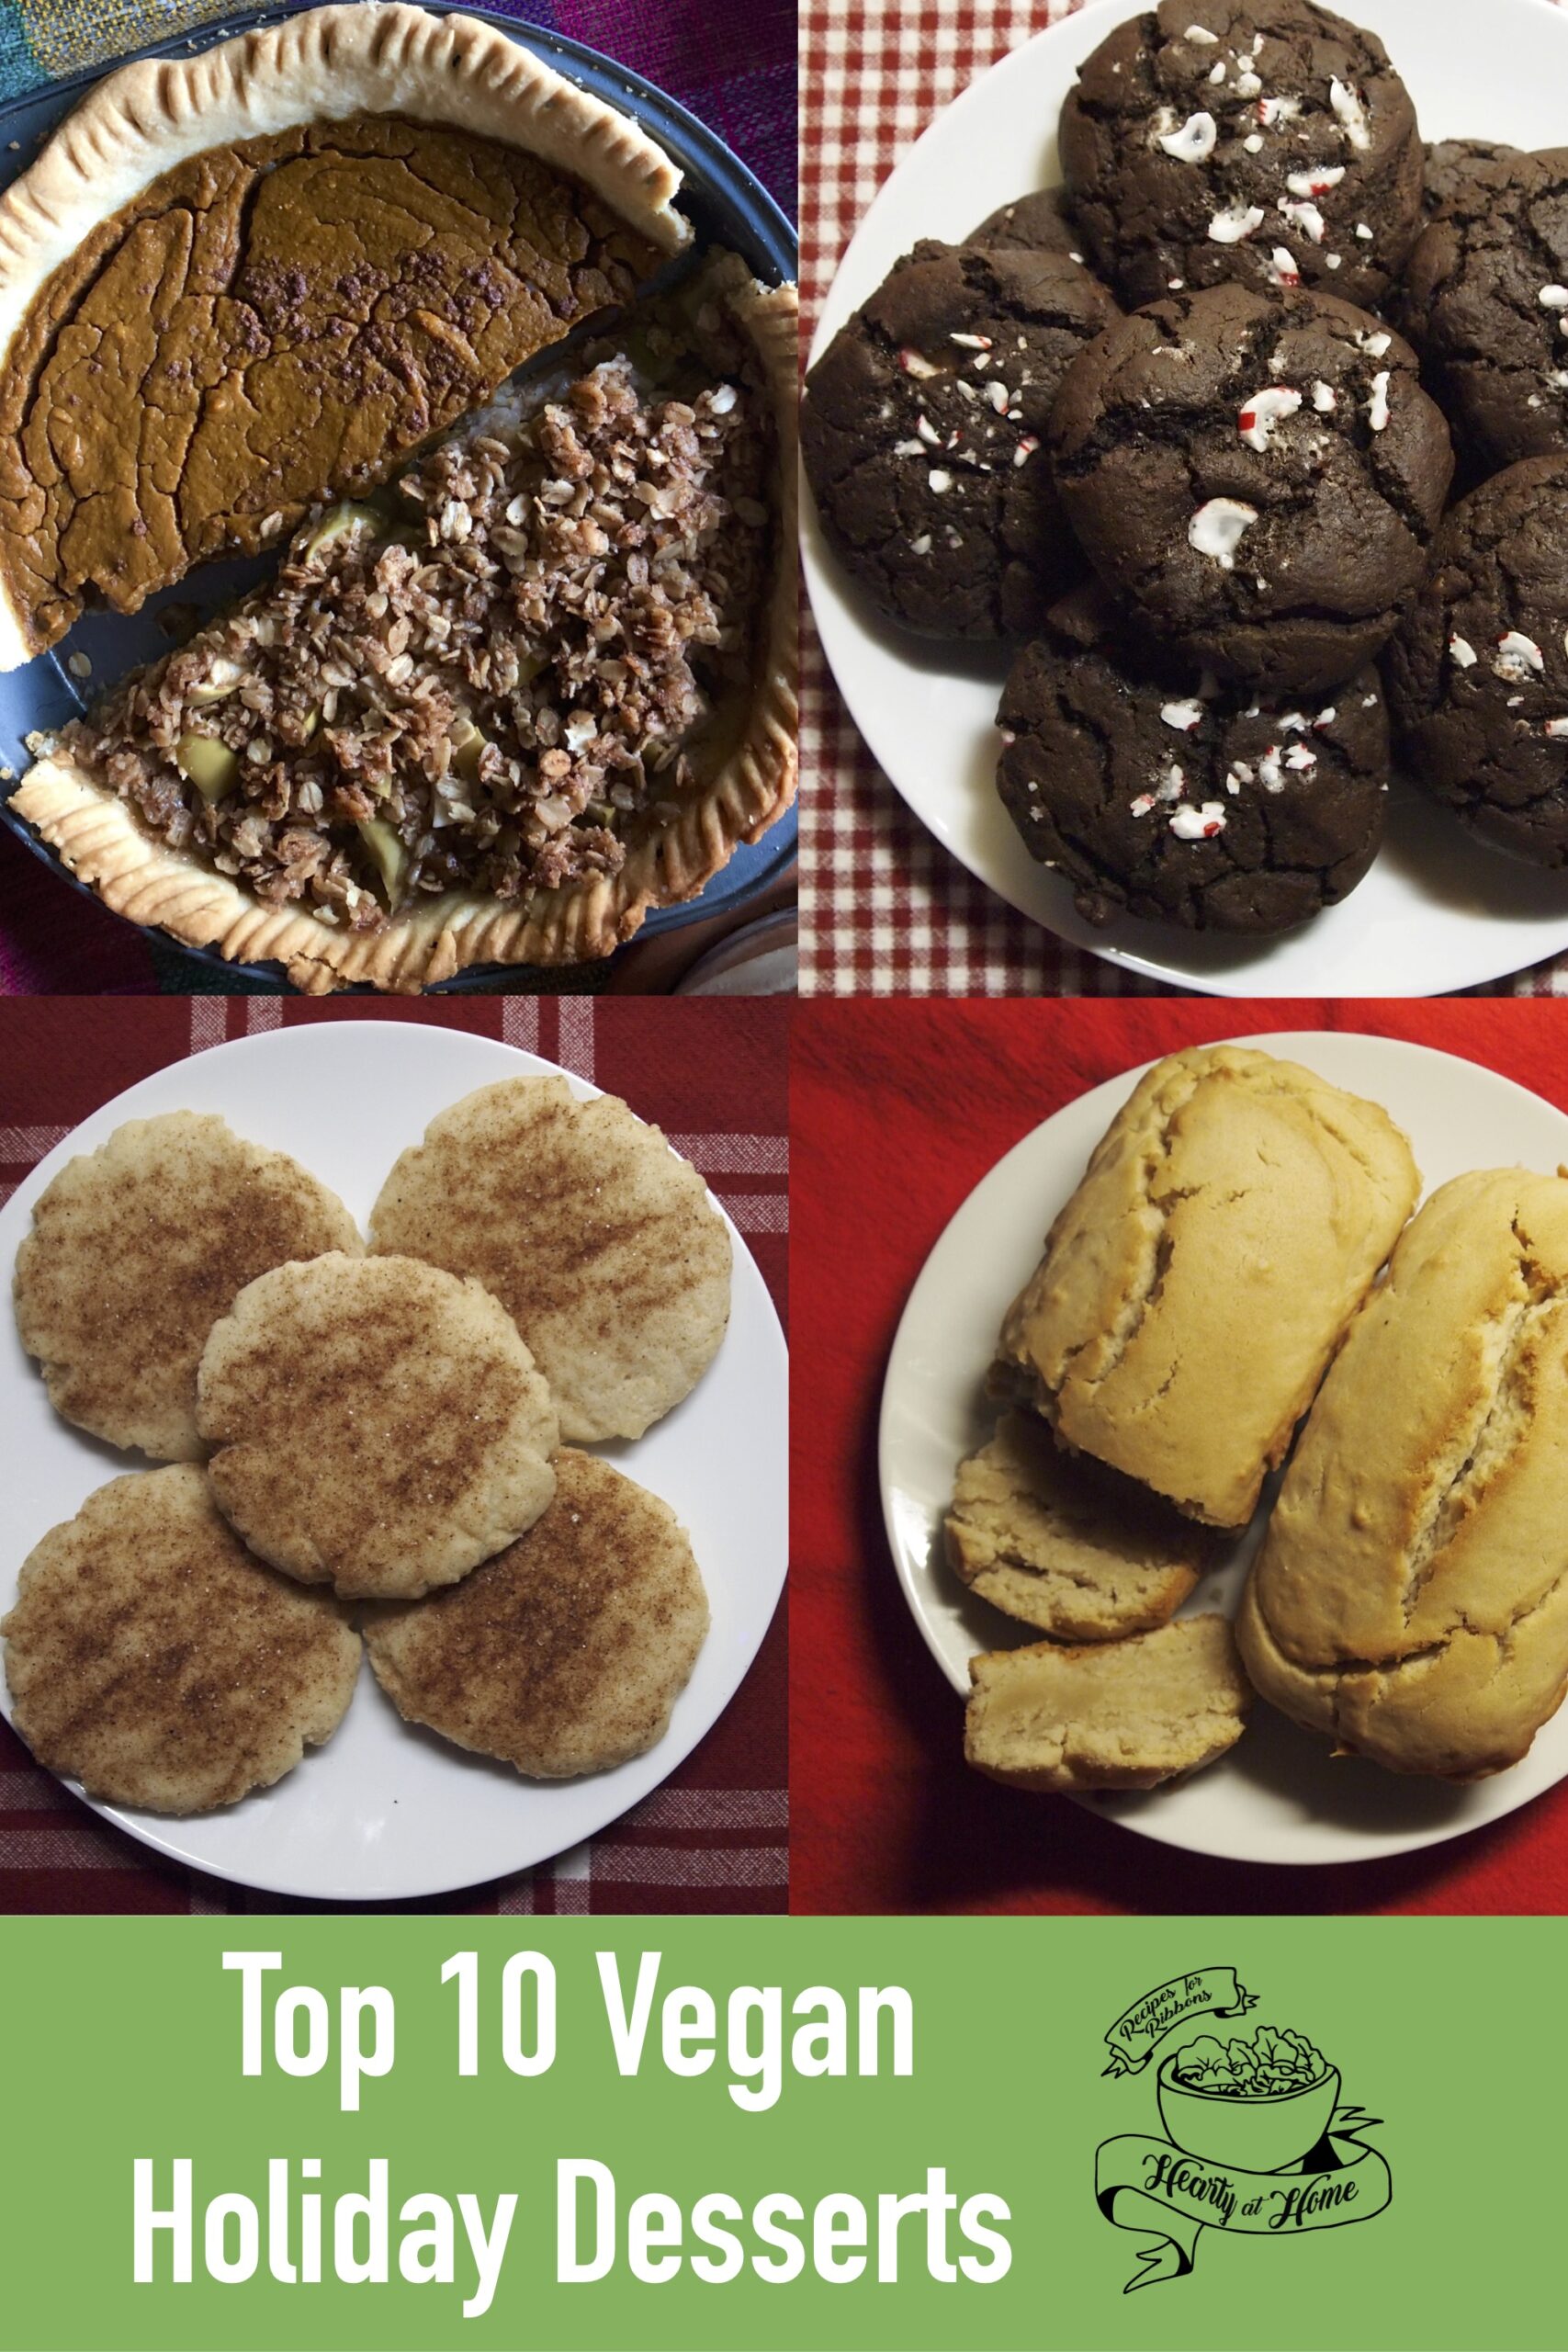
More Deliciousness

Finally, if you’re looking for even more tasty recipes, keep browsing around Hearty At Home! And don’t forget to share these recipes with your friends, family, and loved ones.

For instance, if you find a recipe you like, pin it to your dinner inspiration board!

We share our recipes and recipe videos on Pinterest, Youtube, Vimeo, and Facebook.

Gluten-Free Peanut Butter Cookies

Gluten-Free Peanut Butter Cookies

The classic peanut butter cookies except they’re gluten-free and vegan friendly! Safe for kids with gluten or dairy allergies. And of course, they’re delicious for adults too that are looking for homemade treat. Pairs well with a glass of milk or a cup of coffee. 

Top 10 Vegan Holiday Desserts

Top 10 Vegan Holiday Desserts

Looking for a gift to give or want to try a new indulgence? Check out our recommended recipes for the Top 10 Vegan Holiday Desserts to try this year. There’s no better way to spend a cold Winter day than baking sweet treats to give 

Chocolate Mint Cookies

Chocolate Mint Cookies

Combine the richness of chocolate with the smooth sweetness of peppermint and you have delectable Chocolate Mint Cookies! Want to double down on the chocolate? Dip this cookie in a glass of hot cocoa or chocolate milk.

These make for the perfect gift basket of holiday treats for your loved ones, friends, and neighbors. Plus, this recipe is vegan and gluten-free friendly with a few simple substitutions.

Ingredients

Chocolate Mint Cookies

  • 1/2 cup butter or vegan butter
  • 1/4 cup white sugar
  • 1 tsp vanilla extract
  • 1/4 cup packed brown sugar
  • 2/3 cup unsweetened cocoa powder
  • 1 cup flour (or gluten-free flour)
  • 1 tsp baking soda
  • 1/4 tsp salt
  • 1 Tbs milk (or non-dairy milk)
  • 1/4 cup chocolate chips
  • 1-3 small peppermint candy canes (crushed)

Directions

  1. Begin by preheating the oven to 350ºF
  2. Next, in a large mixing bowl, combine the butter, sugars, non-dairy milk, and vanilla. Whisk together or blend with a hand blender until smooth. Then mix in cocoa powder until combined.
  3. Then, in a separate bowl, whisk together flour, salt, and baking soda. Once whisked, gradually add the flour mix to the wet ingredients.
  4. Fold in the flour with a rubber spatula until well combined.
  5. Afterward, fold in the chocolate chips and half of the crushed peppermint candy.
  6. On a baking sheet, roll out the dough into small balls and place about 2 inches apart. This batch should yield about a dozen small palm-sized cookies.
  7. After the dough has been rolled out, sprinkle the rest of the peppermint candy on the top of the cookies. Place in the oven and bake for 10 minutes for soft and chewy cookies or 12 minutes for more firm cookies.

More Deliciousness

Finally, if you’re looking for even more tasty recipes, keep browsing around Hearty At Home! And don’t forget to share these recipes with your friends, family, and loved ones.

For instance, if you find a recipe you like, pin it to your dinner inspiration board!

We share our recipes and recipe videos on Pinterest, Youtube, Vimeo, and Facebook.

Gluten-Free Snickerdoodles

Gluten-Free Snickerdoodles

Gluten-free snickerdoodles are just as soft and chewy as the classic cookies, but these are perfect for friends or loved ones with gluten-free needs. Give them as a gift during the holidays or enjoy them yourself as a rich little indulgence. Ingredients Gluten-Free Snickerdoodles 1