
Sourdough Loaf
To begin making your own sourdough loaf, first, you must prepare a sourdough starter. You can follow our starter guide here!
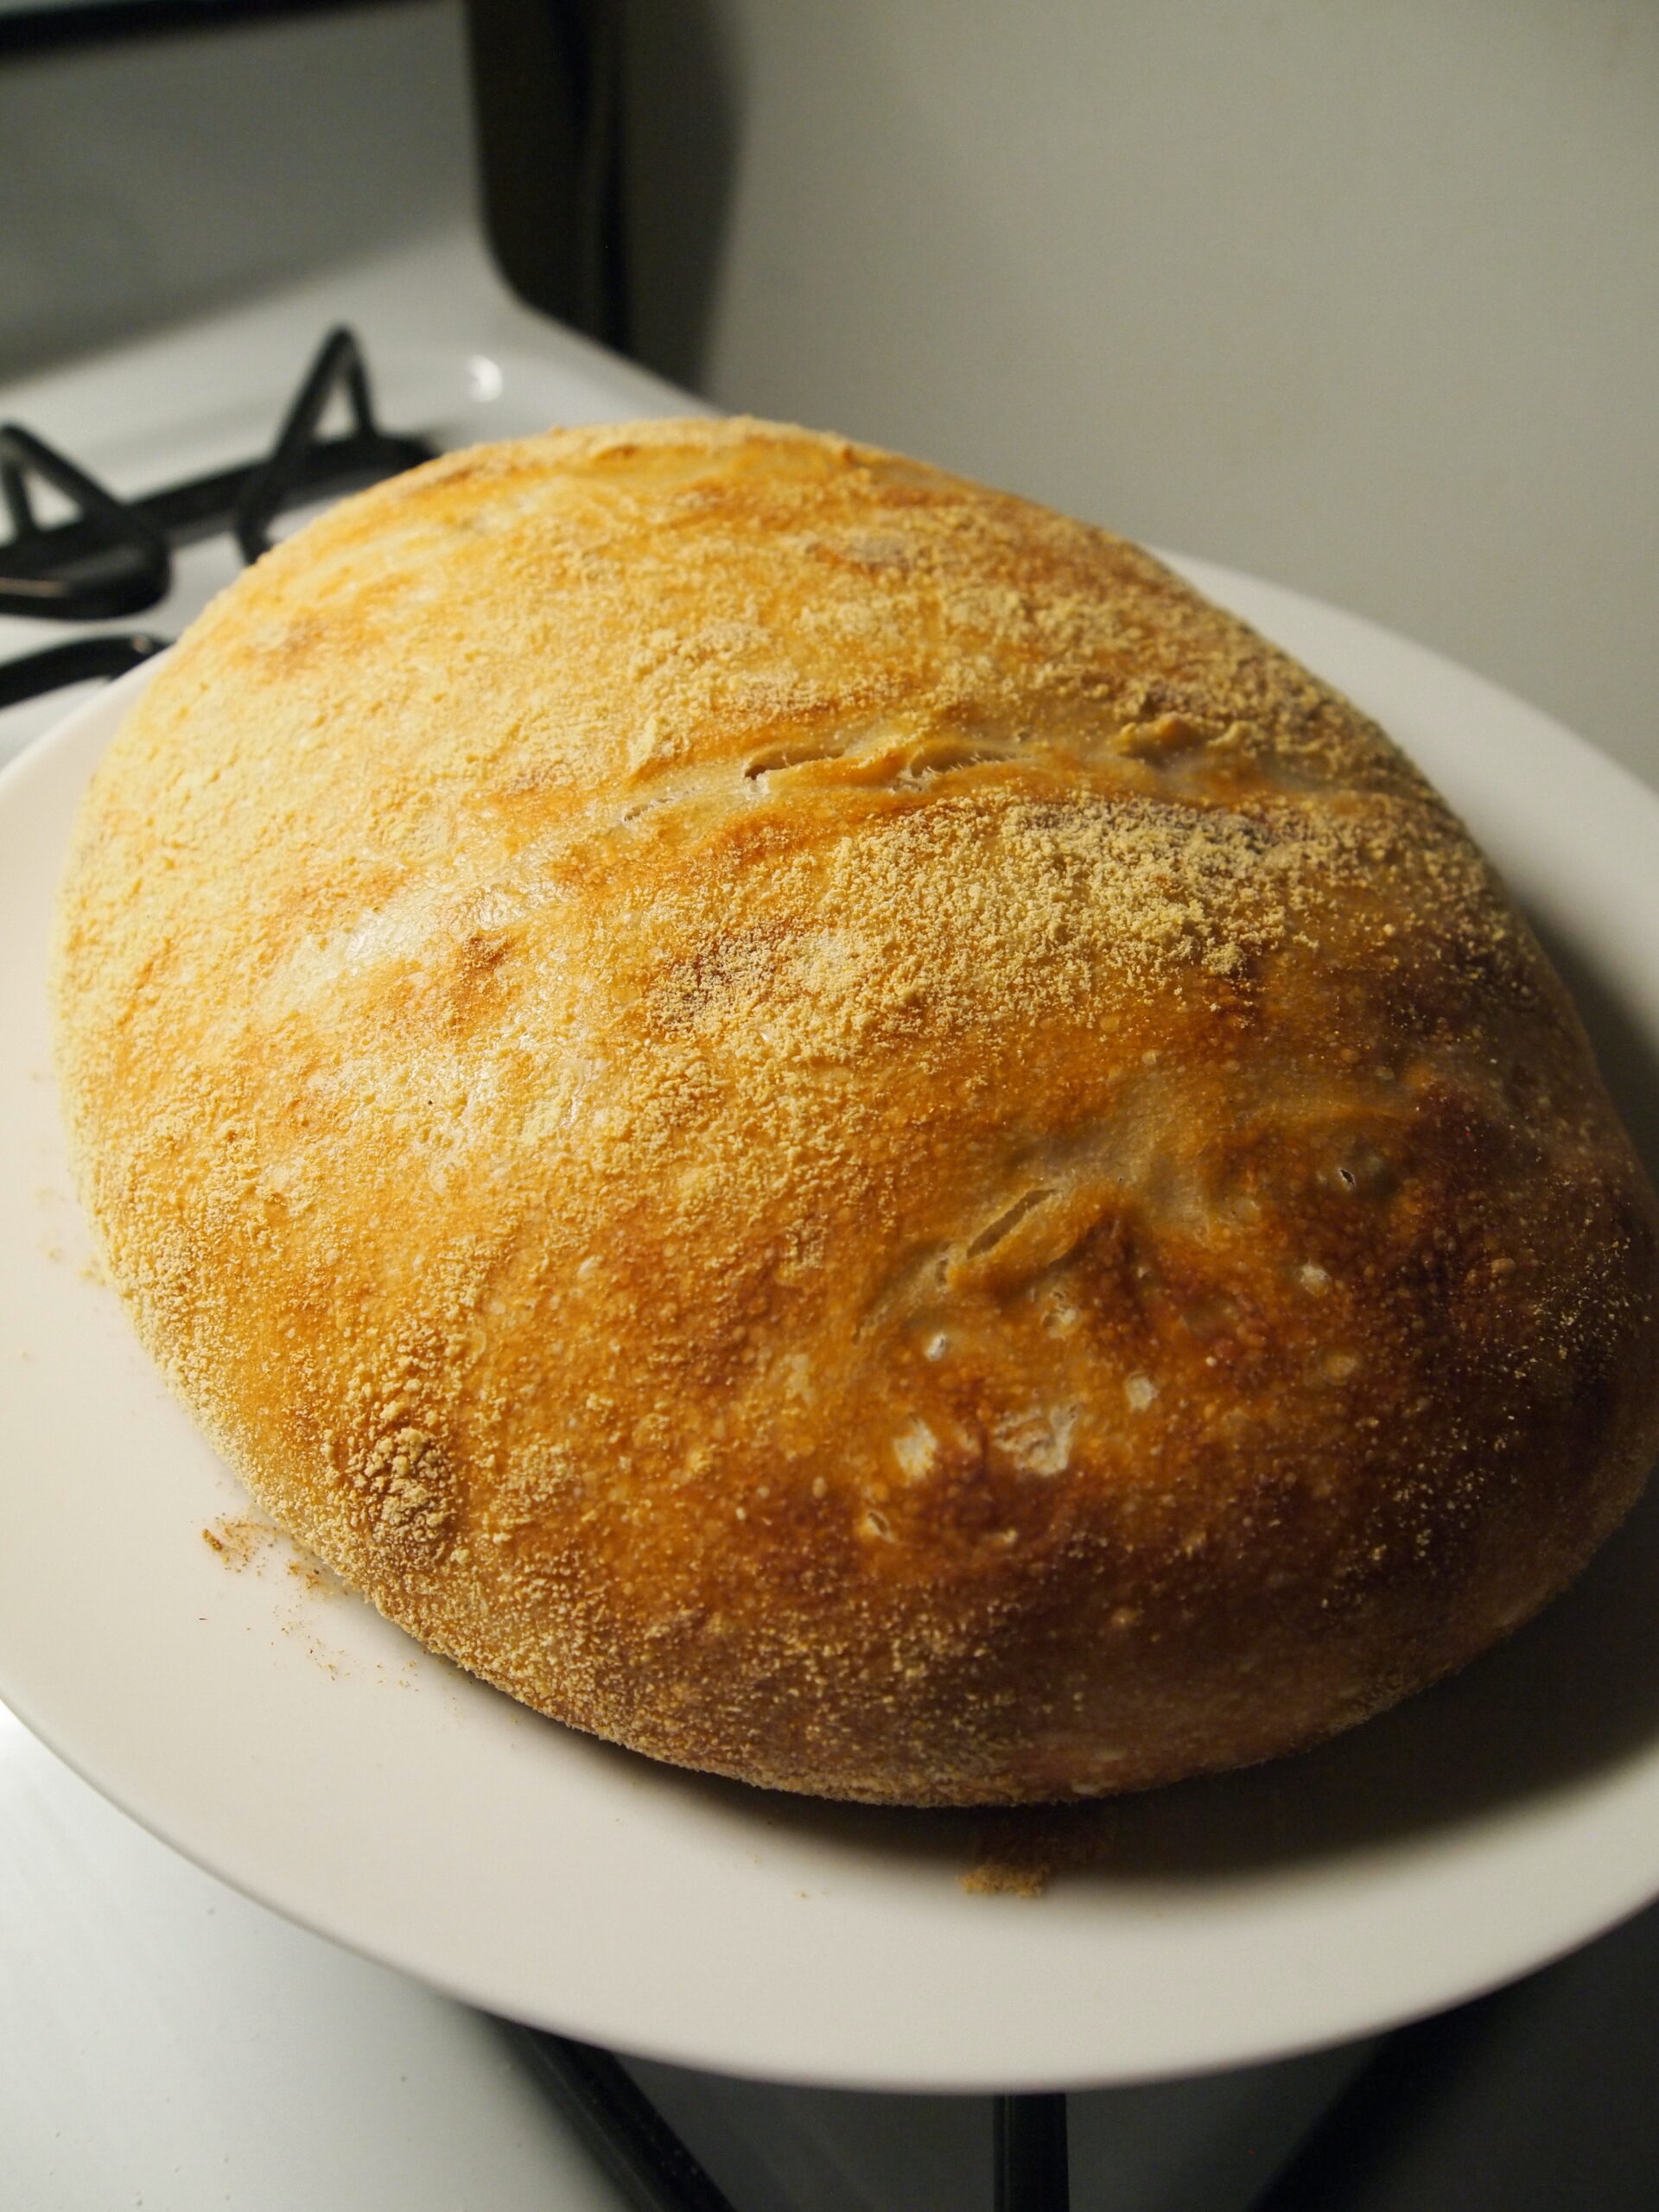
If you’ve already got a well-fed starter going, making a sourdough loaf of bread is one of the classic uses. This bread is naturally easier on the digestive system because of the fermentation process of the starter. Keep in mind this recipe takes 2-3 days to make depending on your proofing times.
Equipment
- Large mixing bowls
- Digital kitchen scale
- Rubber spatula
- Measuring cups
- Glass bowls with lids
- Proof baskets
- Clean kitchen towels
- Semolina flour or cornmeal (for proof baskets)
Ingredients
Sourdough Loaf
Leaven:
- 1 Tbs active starter
- 75 grams all-purpose or bread flour
- 75 grams cold water
Dough:
- 475 grams water
- 700 grams all-purpose or wheat flour (you can also do half bread flour and half all-purpose flour)
- 50 grams of water mixed with 1 Tbs salt
Directions
Day 1
- Reserve 1 Tbs of your active starter to make your leaven. Mix the starter with 75 grams of water and flour in a glass bowl. Use a rubber spatula to combine the ingredients. Cover with a lid and allow it to sit for 12 hours at room temperature.
- Combine the 50 grams of water and 1 Tbs salt in a sealable container to allow the salt to dissolve.
- I usually do this step around 7-8 PM the night before I plan to make bread.
Day 2
- The leaven has proofed for 12 hours. Combine the leaven with 475 grams of water in a large mixing bowl. Mix with a rubber spatula.
- Then, add the flour and combine. The mixture will seem a little dry, but that’s okay because more water with the salt will be added. Cover the bowl with a towel or cling wrap and allow it to rest for at least 30 minutes or up to 4 hours. In this video, we rest our dough for 30 minutes.
- After the dough has rested, add the water/salt mix and blend with your hands. For this proofing process, we’ll use the fold and stretch method. This means collecting all the dough in your hands and stretching it out and folding it into itself, think of it as folding sheets.
Fold & Stretch
- When you’ve folded and stretched in one direction, repeat that in another direction, covering north, east, south, and west. After folding and stretching, return the dough to the mixing bowl, cover the bowl with a towel and allow it to rest for 30 minutes.
- Repeat the fold and stretch 6 more times every 30 minutes over the course of 3.5 hours.
- In-between folding and stretching, prepare two proofing baskets with a clean kitchen towel and dusted with semolina flour or cornmeal.
Preparing for long proof
- After folding and stretching, divide the dough into two equal loaves.
- Separate the two onto a lightly floured surface. Sprinkle extra flour over the dough.
- Shape the dough balls into loose rounds and then allow them to rest for 20-30 minutes.
- After the resting time, shape the loaves by taking the bottom and folding it inward, then taking the top and folding toward where you folded in the bottom. Use your fingers to pinch together the fold, sealing it up into a tight seam.
- Transfer the dough to the proofing basket with the seam on top.
- Loosely cover the baskets with a kitchen towel and allow them to rise for 3-4 hours at room temperature or 12-15 hours in the refrigerator.
Baking
- After the long proof, use a dutch oven or a cast iron pot for baking your bread. I usually bake one loaf at a time. Liberally dust your pot with more semolina or cornmeal.
- Preheat the oven to 500ºF.
- Transfer the loaf for baking to the dutch oven or pot with the seam-side down.
- Use a serrated knife or pastry knife to score the top of the loaf with two to three scores.
- Cover the dutch oven or cast-iron pot with its lid and bake for 20 minutes at 500ºF.
- After 20 minutes, reduce the temperature to 450ºF and bake for another 10 minutes.
- Then, uncover the dutch oven or pot and bake for 15-25 minutes. This is a careful stage, the baking time depends on how accurate the temperature of your oven is, but bake until the top is golden and lightly crispy.
- Remove from the oven and allow it to cool. Repeat the baking steps for each loaf.
Extra tips
The flavor of your sourdough depends on the temperature of your house. Warmer temperatures will yield sweeter bread and colder temperatures will yield more sour bread.
The temperature will also affect the proofing process and how much rise you’ll get out of your dough. It will probably take a few attempts with this recipe before you get a well-risen bread loaf, but adjust the steps as you see fit for your baking environment.
More Deliciousness
Finally, if you’re looking for even more tasty recipes, keep browsing around Hearty At Home! And don’t forget to share these recipes with your friends, family, and loved ones.
For instance, if you find a recipe you like, pin it to your dinner inspiration board!
We share our recipes and recipe videos on Pinterest, Youtube, Vimeo, and Facebook.