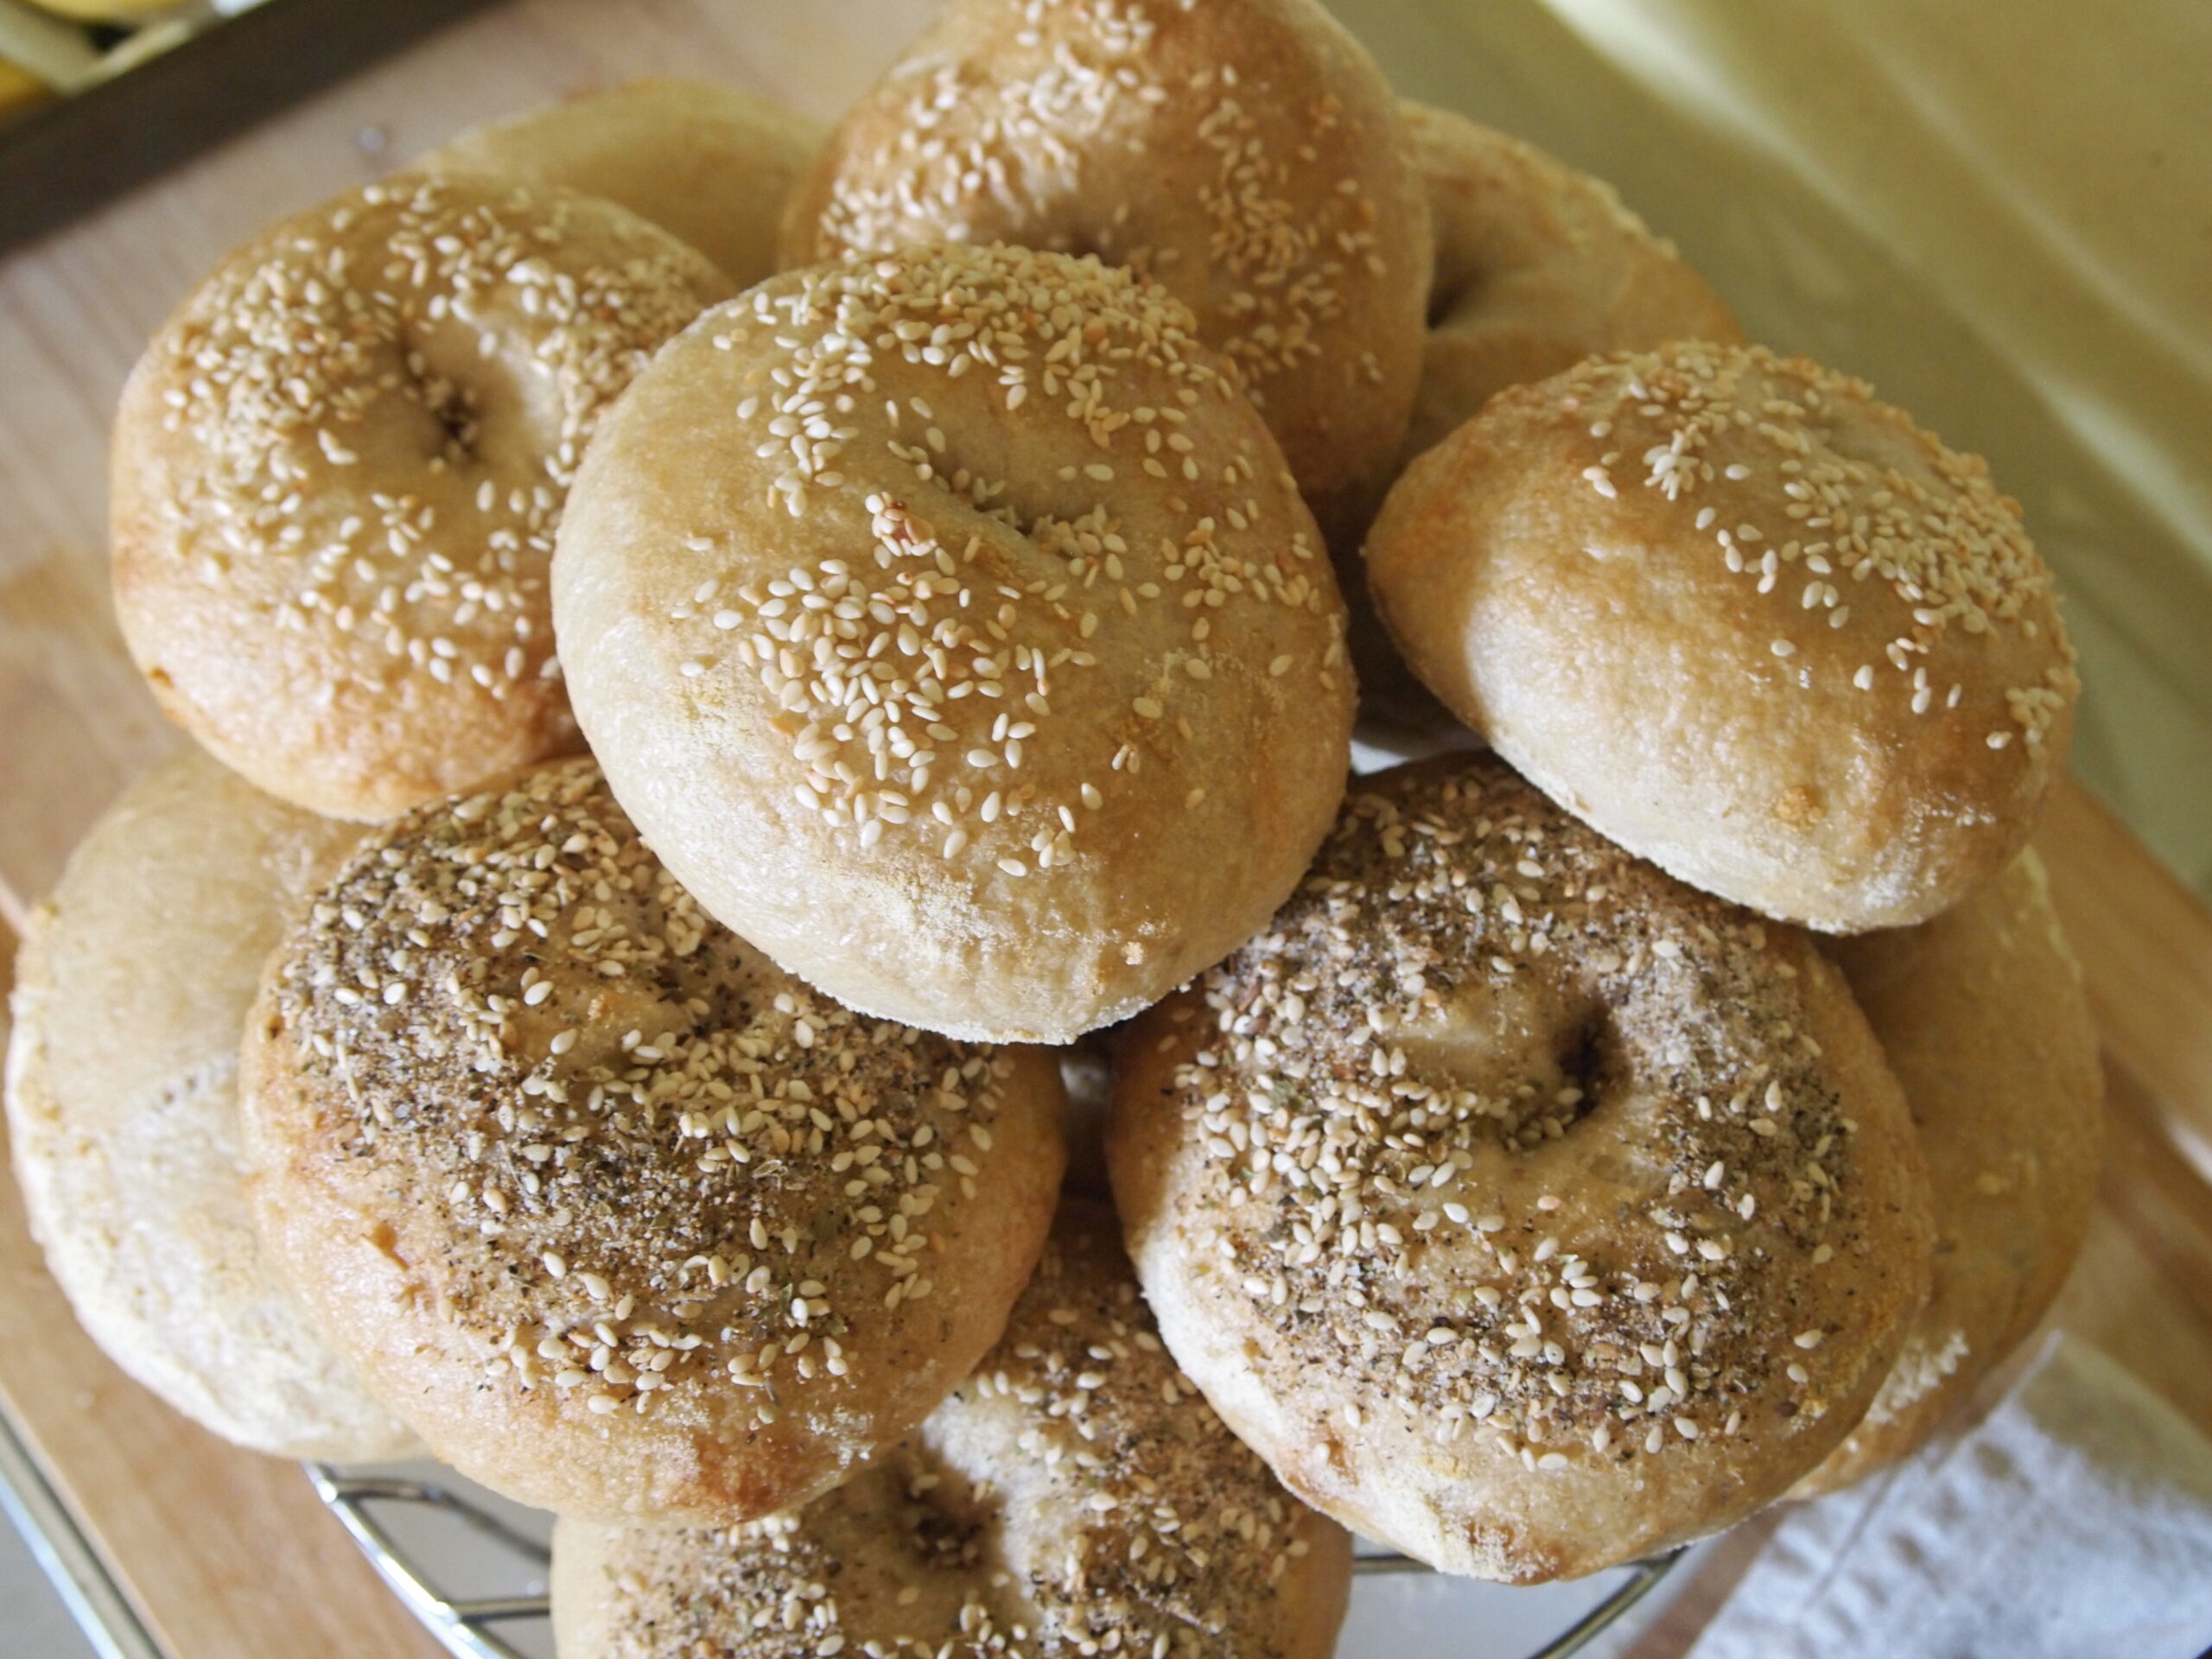
Homemade sourdough bagels are surprisingly easy to make when you’ve already got an active starter going. Imagine having your own bagel shop experience right at home! You can flavor your bagels however you like and serve them with your favorite smear and toppings. Materials Needed …
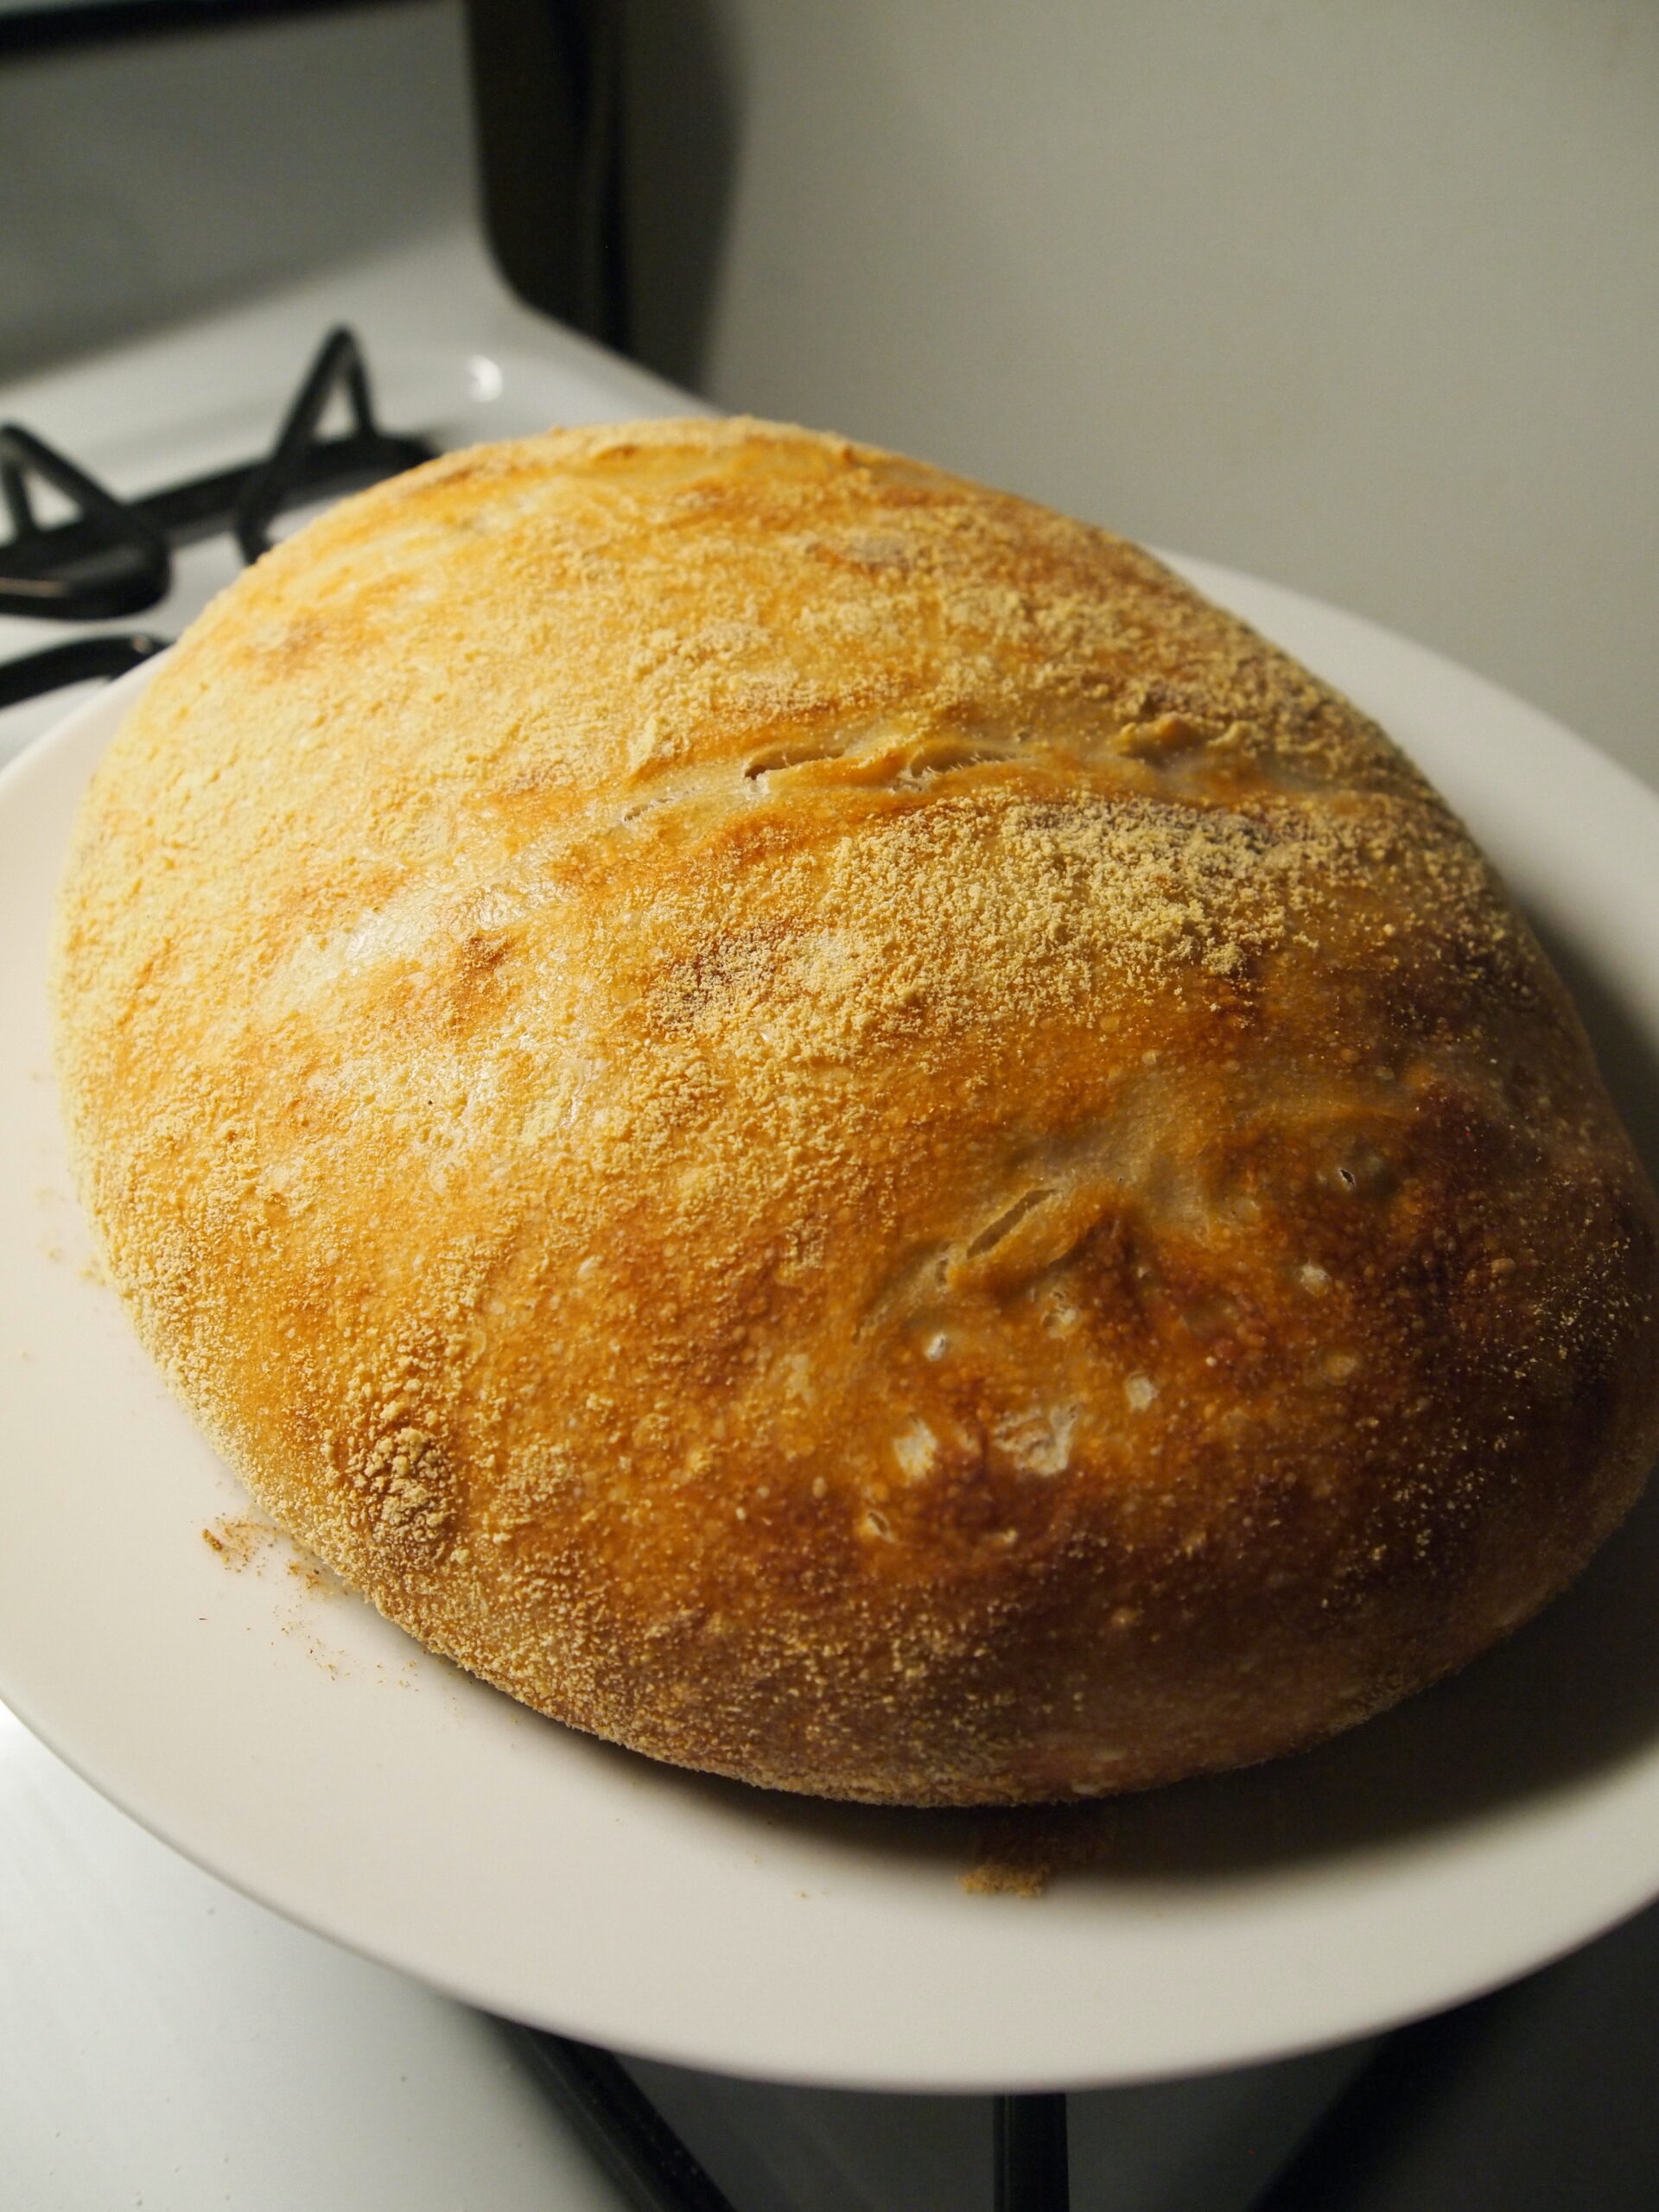
To begin making your own sourdough loaf, first, you must prepare a sourdough starter. You can follow our starter guide here! If you’ve already got a well-fed starter going, making a sourdough loaf of bread is one of the classic uses. This bread is naturally …
Since the quarantine, there has been no shortage of folks posting their sourdough starter and homemade bread projects. Have you scrolled past these posts and wondered if it’s worth the time and effort?
Um, yes! Sourdough is a great project to take on for making your own bread, bagels, crusts, crackers, and much more! And after you’ve tasted the fruits of your labor, you won’t be able to go back to those mass-produced loaves.
This guide will walk you through the basics of what a starter is, how to maintain it, and what you can do with it.
Sourdough
Starting with Starters
What is a starter? How does it “grow?”
Many people are often confused by the use of the word “yeast” when it comes to bread starters. Surely, you’ve seen those packets of “active yeast” in the grocery store, but that’s not what we’re talking about.
With a homemade starter, the yeast is “wild.” Yeast is like bacteria in that they are organisms that exist all around us in the air, in your bag of flour, everywhere! It’ll grow under the proper circumstances.
But, you don’t need to commit a whole section of your house to perfect starter-growing conditions. Because wild yeast is everywhere, all you need is a house, sometimes a refrigerator, and air-tight storage containers to get your bread adventure going.
When you feed and grow your sourdough in warmer temperatures the flavor of the bread (once baked) is sweeter, and under cooler temperatures, it is sourer.
To get your sourdough starter off the ground it’ll take several days so dig in:
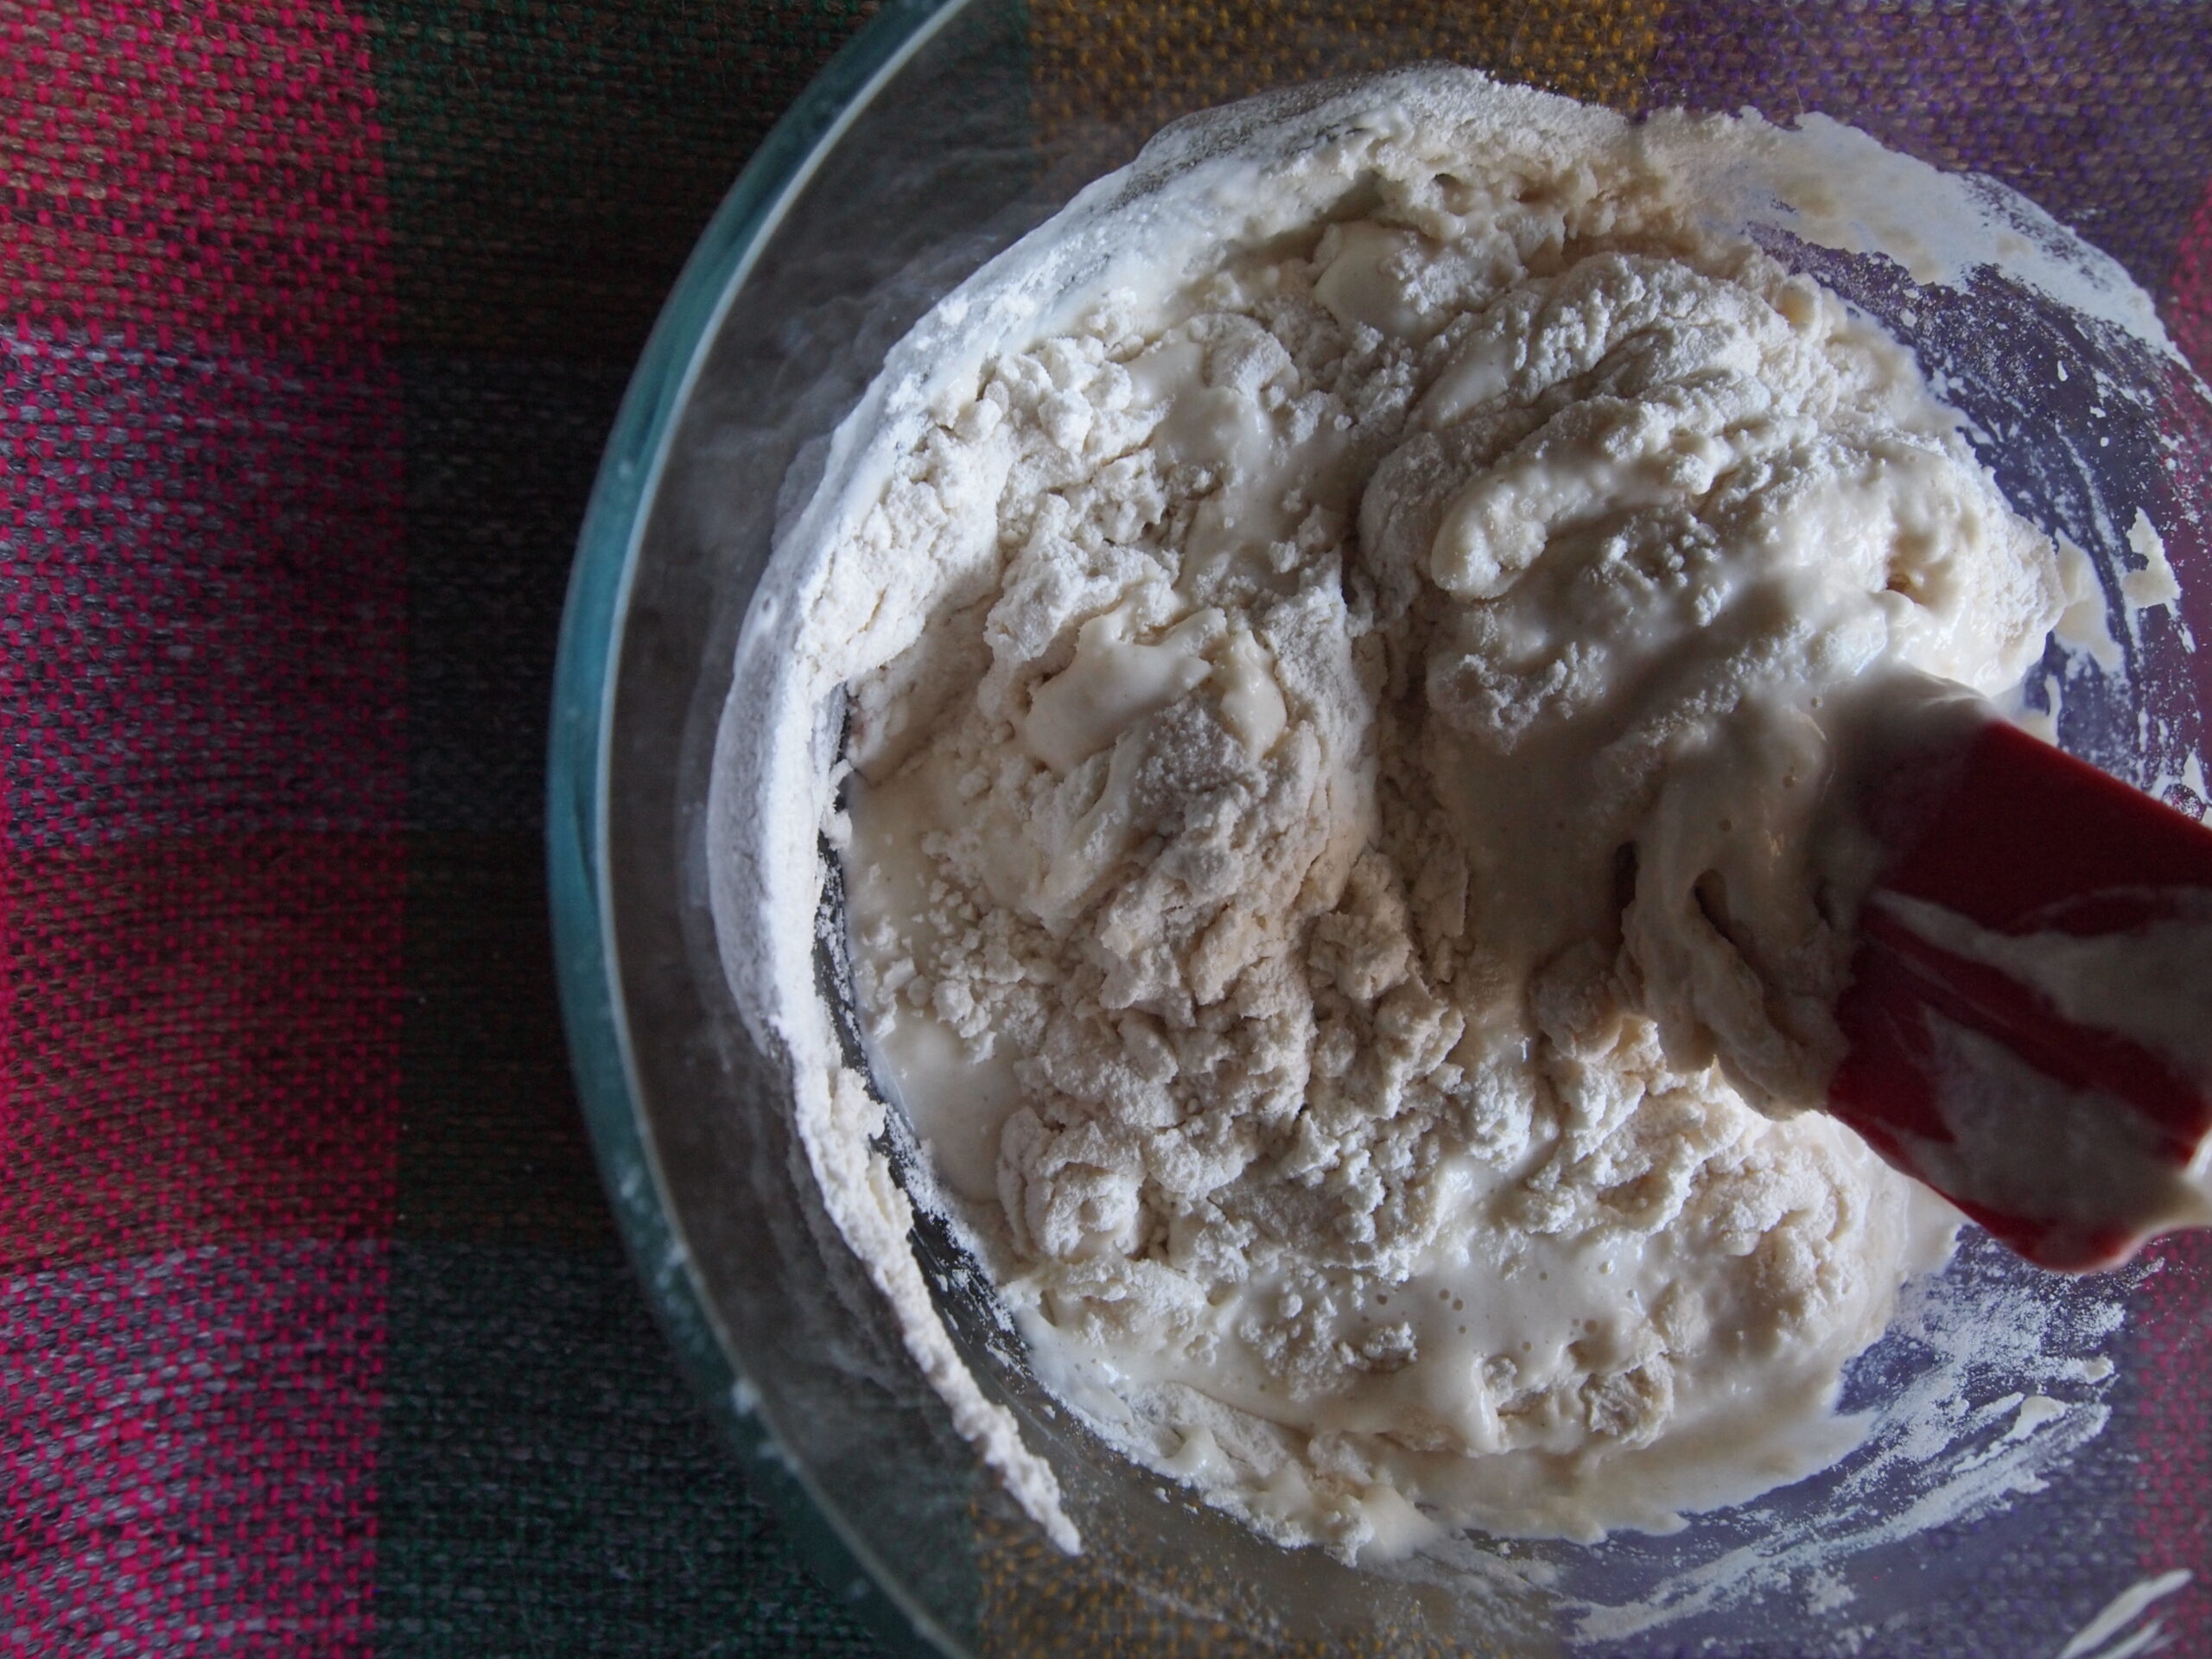
In a mixing bowl and using a kitchen scale, measure out 113 g of flour, either all-purpose, wheat, or rye.
Tare the scale and measure in 113 g of cool water
Stir thoroughly with a rubber spatula and cover the bowl loosely with a kitchen towel or plastic wrap. Let the mixture sit at room temperature, ideally 70°F for 24 hours. If you live in a cooler house, it will have to sit for longer.
Day 2
You may not see much activity after the first day. There may be some growth and light bubbling, but no matter what you see, discard half of the starter (saving about 4 oz or a hefty 1/2 cup). Then, measure equal parts of flour and cool water (another 113 g). Mix well with the remaining starter, cover loosely, and let it sit at room temperature for another 24 hours.
Day 3
At this point, you will need to feed the starter twice a day.
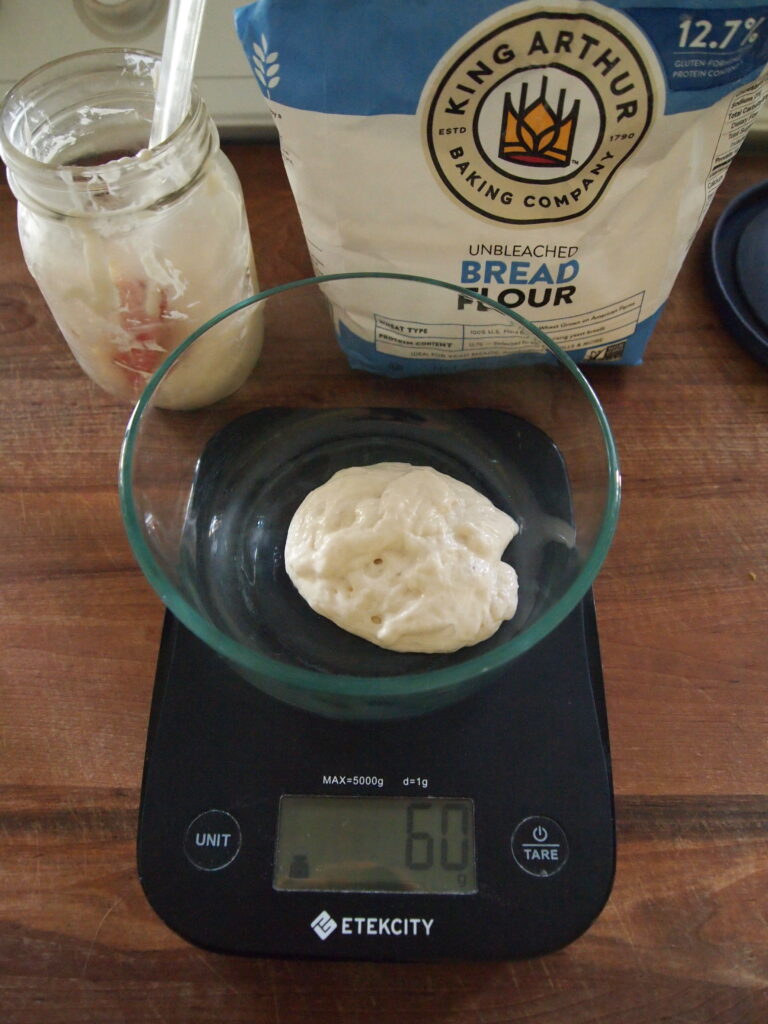
For each feeding, weigh out 4 oz. of starter and add to a fresh mixing bowl.
Discard the remainder.
Mix in another 113 g of flour and cool water to your 4 oz. of starter.
Afterward, you can either cover the bowl with plastic wrap, or you can use a glass container with a sealable lid (I prefer pyrex).
Let the mixture rest for 12 hours before feeding again.
Day 4
Repeat the steps of Day 3~ This will get very exciting very soon, it just takes patience!
Day 5
Weigh out 4 ounces of the starter, discard the rest, and feed again with the same amounts of flour and water just like the past two days. At this point, you should be a pro!
Let it rest for 12 hours and feed again.
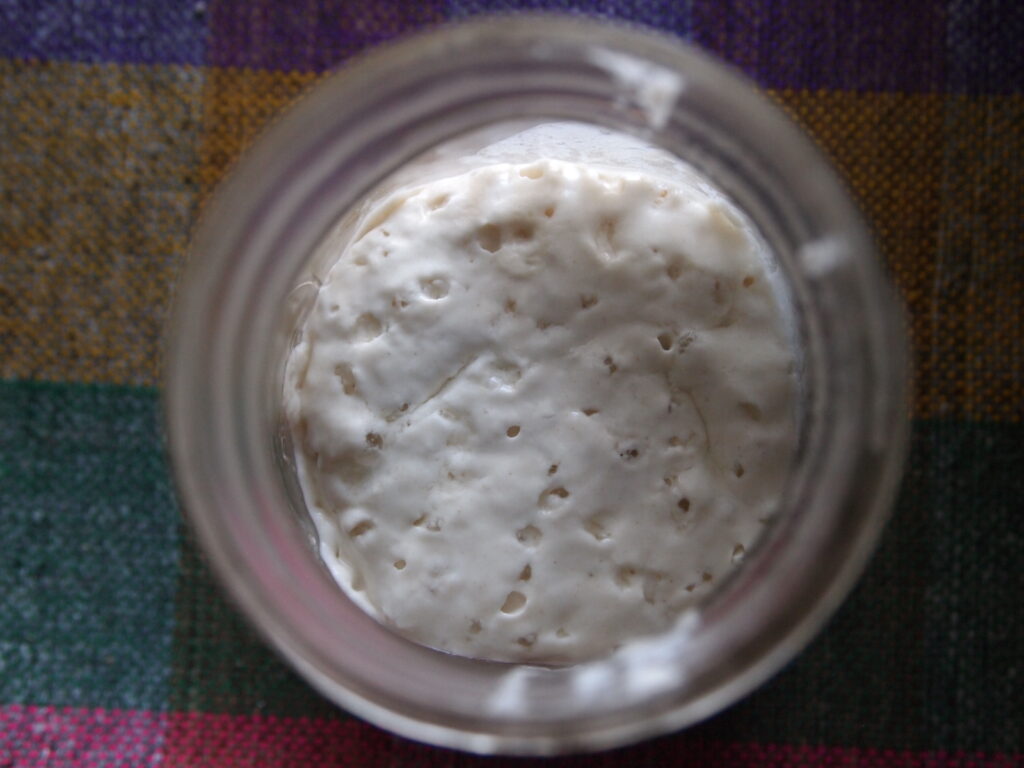
By the end of day 5, your starter should have doubled in volume and will be very bubbly. The starter should have a tangy aroma that is pleasantly acidic, but not overpowering.
If that is not the case, keep discarding and feeding every 12 hours for 1-2 more days.
Now what?
What to do with a sourdough starter
Well, now you have grown a healthy starter. To maintain flavor you have to keep feeding it.
But you don’t have to feed it everyday!
If your starter is big and bubbly after day 5, and at least after 1 feeding that day, you can move the entire contents of your starter bowl to a jar that can be tightly sealed.
You can then put that jar in the refrigerator and start feeding your starter once a week.
With that, you now have the option to scoop out some starter if you want to start a bread project while maintaining some of your original starter with a slower feeding schedule.
Stable Sourdough
More Deliciousness
Finally, if you’re looking for even more tasty recipes, keep browsing around Hearty At Home! And don’t forget to share these recipes with your friends, family, and loved ones.
For instance, if you find a recipe you like, pin it to your dinner inspiration board!
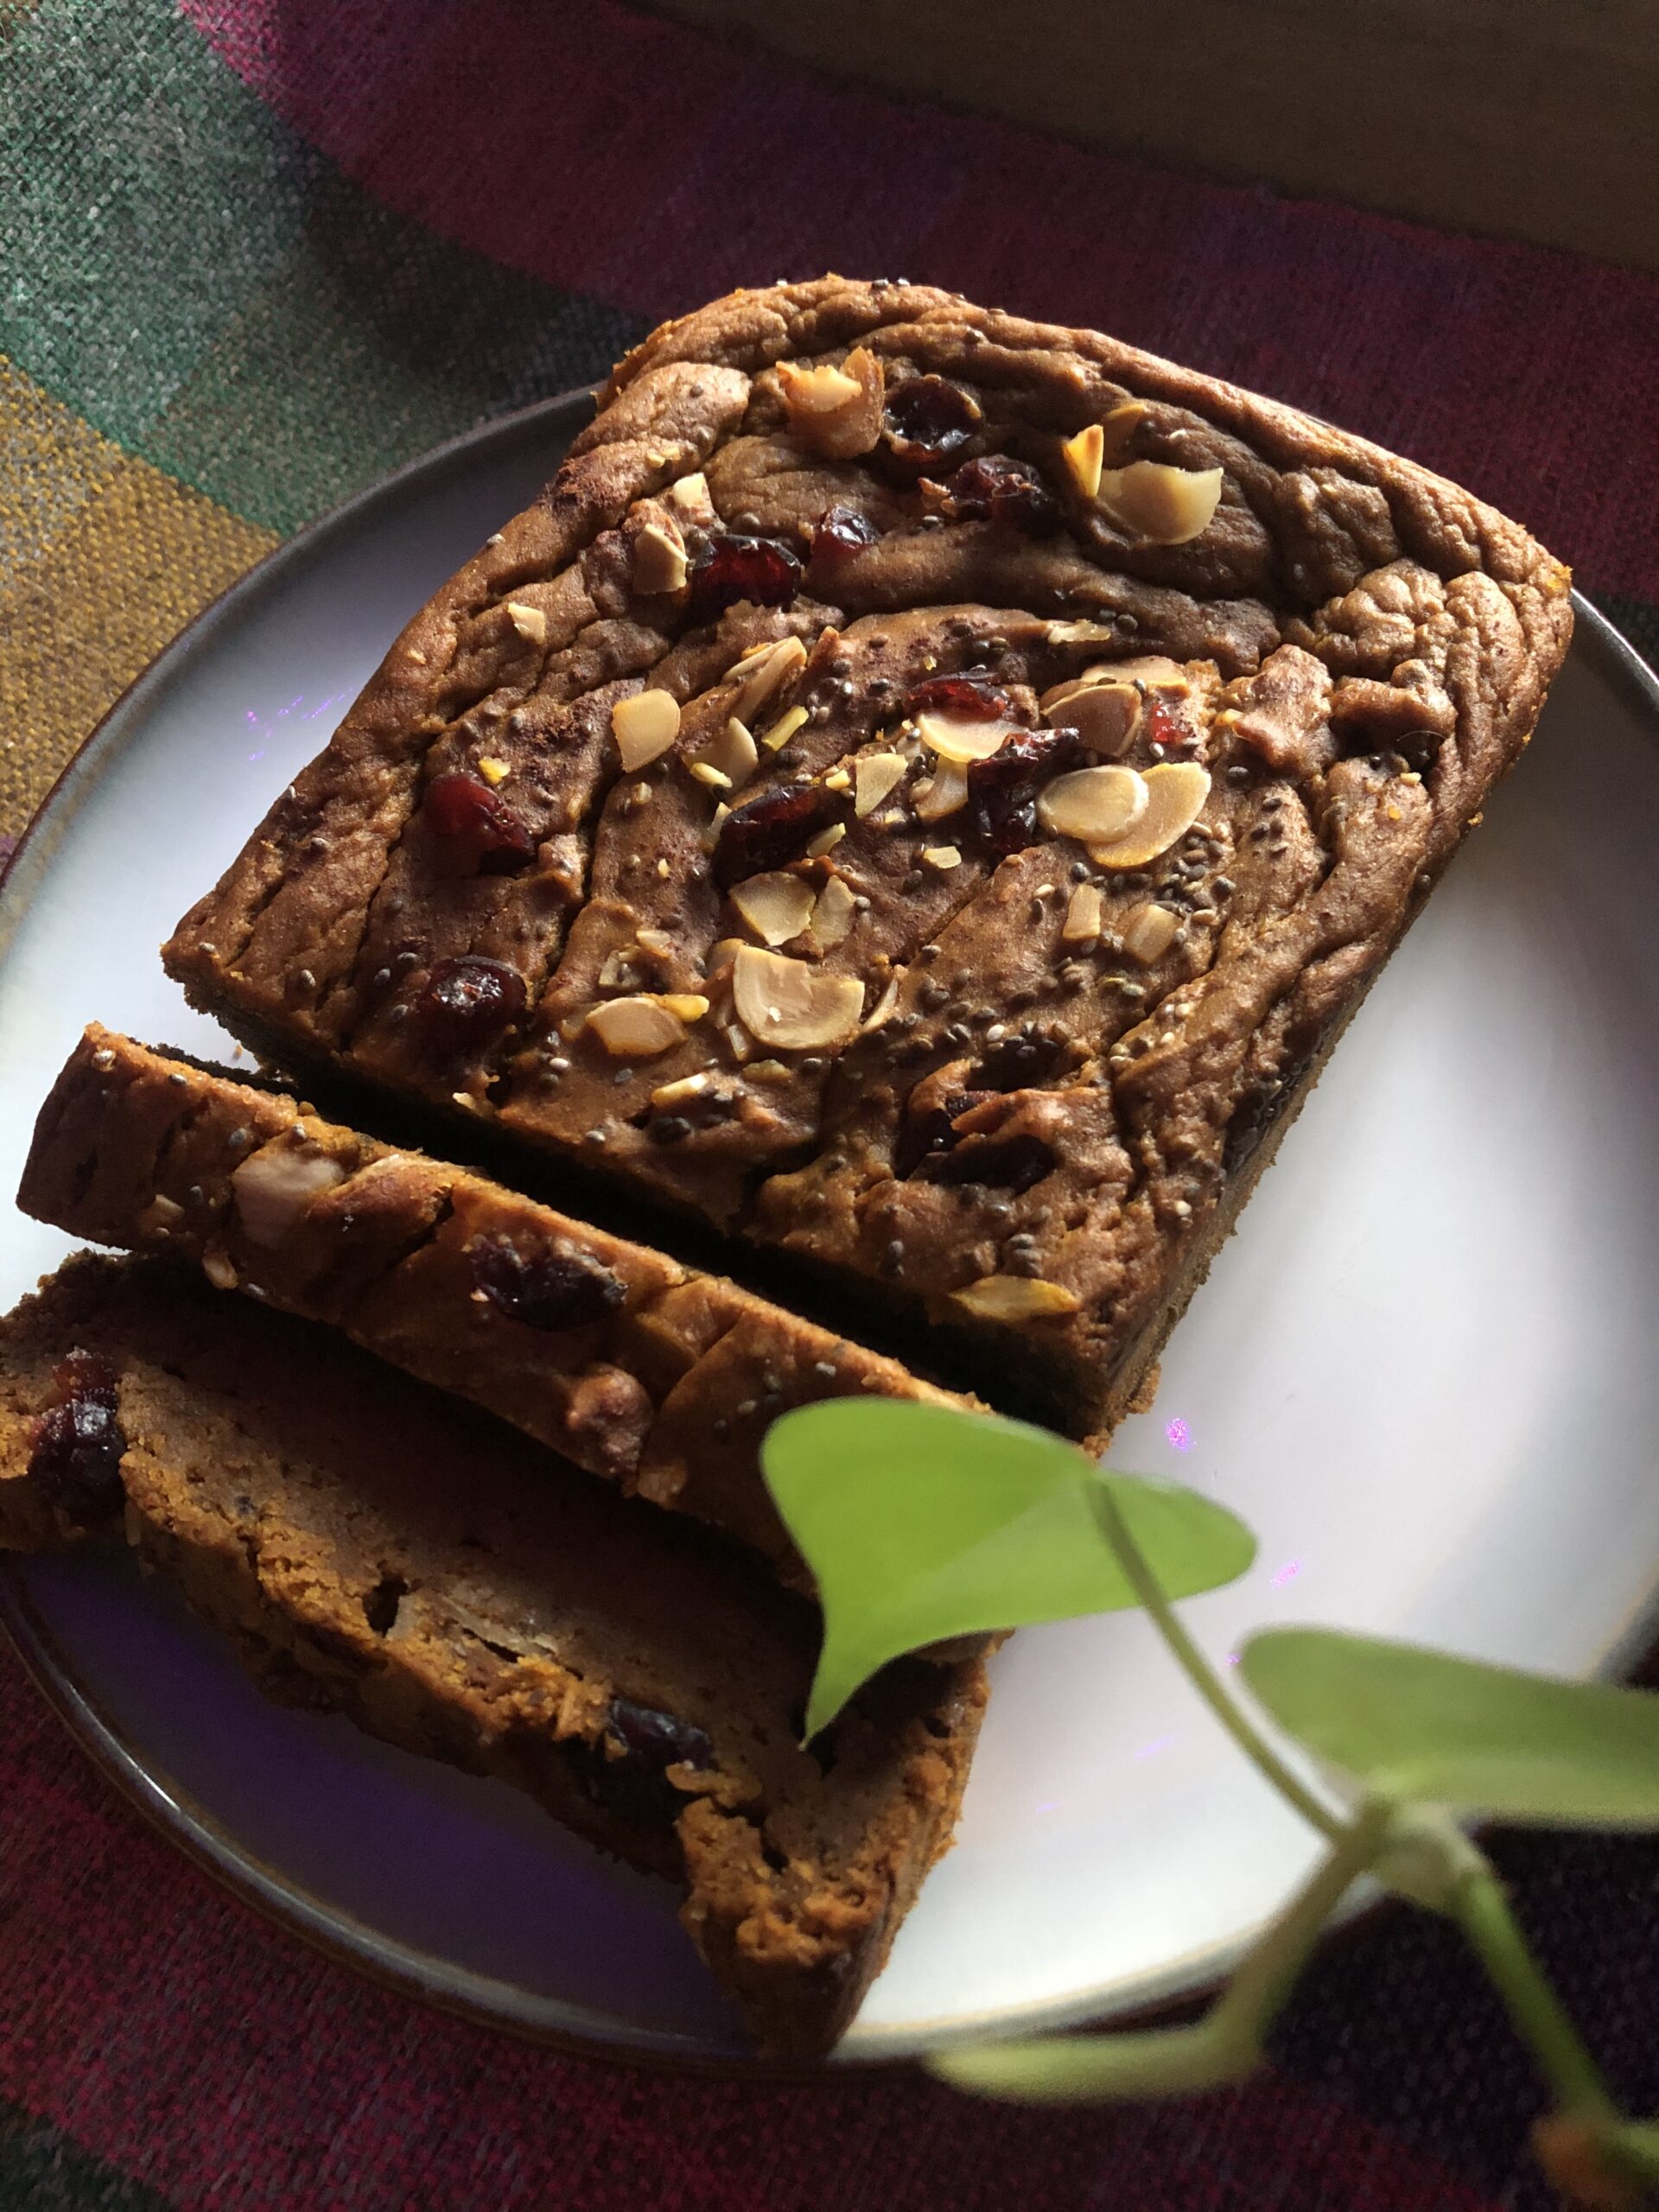
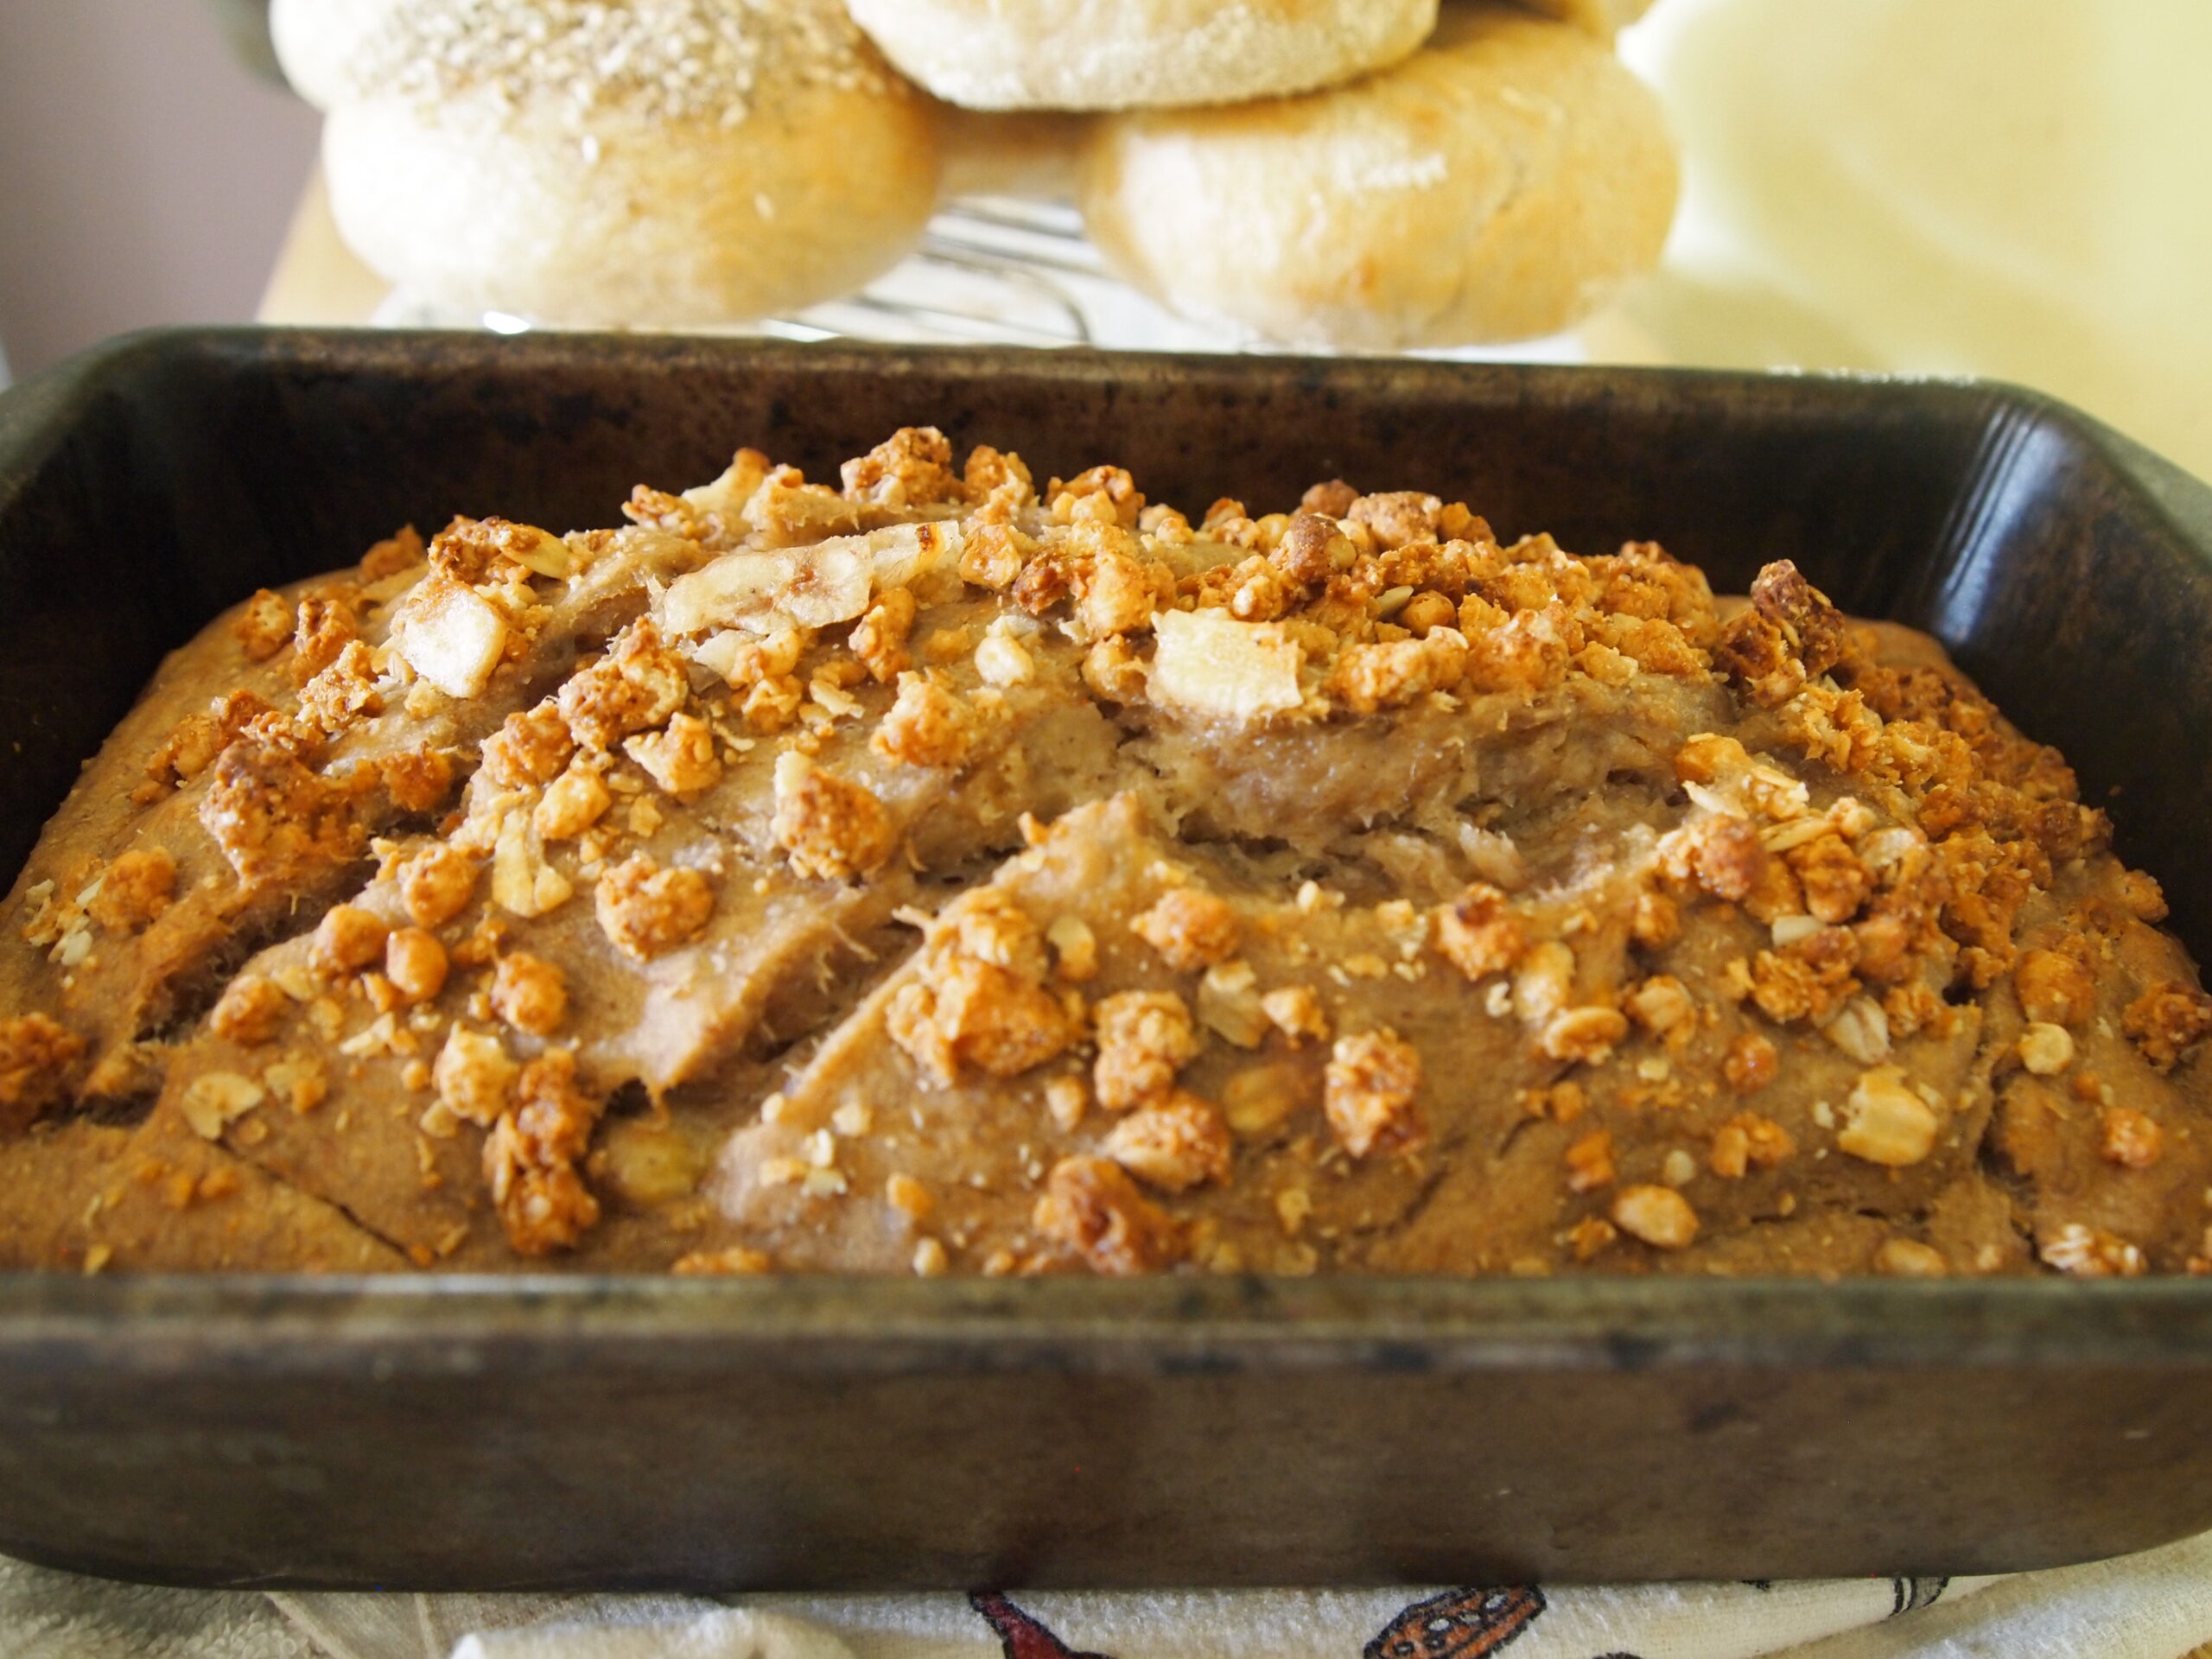
This recipe for Hearty Banana Bread is vegan-friendly and a healthy way to get your sweet tooth satiated without sacrifice! Ingredients Hearty Banana Bread 1 Tbsp ground flaxseed + 2.5 Tbsp water, combined 3 medium ripe bananas 1/4 heaping cup almond butter or peanut butter …